Last Sunday was mine and Alan's first anniversary. We went out to dinner and did our celebrating on Saturday night, and decided to have friends over for dinner on Sunday. We decided to try making gnocchi, since we'd never made it before and had wanted to try it. But do you do regular or sweet potato? Well, if you're us making it for the first time with people coming over, you decide to try both. Then you discuss sauces, and decide you can't have the same sauce for both - no, you have to make two different sauces from scratch as well. It was mayhem, especially with our little kitchen and lack of dishwasher.
I will say this - gnocchi making is an art. You wouldn't think it would be, since they're just little dumplings, you don't have to sculpt anything and there are only 3 ingredients. The art form comes in getting the right amount of flour. A recipe will tell you to add as little as possible in order to keep them light and fluffy. I'll tell you you need to make sure to add enough flour, or your gnocchi will fall apart when you cook it. It just turns into potato water. So, let as much water drain from the potatoes as possible after you cook them, and then add enough flour - but not too much - to make your dumplings.
So, the menu: regular gnocchi and sweet potato gnocchi (with and without nutmeg), and basil walnut pesto and roasted red pepper cream sauce.
Gnocchi:
2 large russet potatoes (or sweet potatoes)
1 egg
1-ish cup of unbleached flour and/or wheat flour
1 teaspoon nutmeg (optional)
1. cut the potatoes in half and place them in a large pot of salted water. Bring the water to a boil, and let them cook through (this will take awhile)
2. after the potatoes are cooked, take them out and peel them quickly. Put them on some paper towels and let some water drain out of them. Then, either put them through a potato ricer if you have one, otherwise you can use a fork to scrape them into tiny pieces. Just make sure there aren't any big chunks of potato.
3. Beat the egg a little and pour it over the potato mixture, then use a spatula to mix it all together. Add the flour 1/4 cup at a time, kneading it together until it forms a dough. You want it to be moist, but not too sticky. A light dough, not a wet paste. I know - there's a lot of room in between. (If you're making sweet potato gnocchi, add the nutmeg now.)
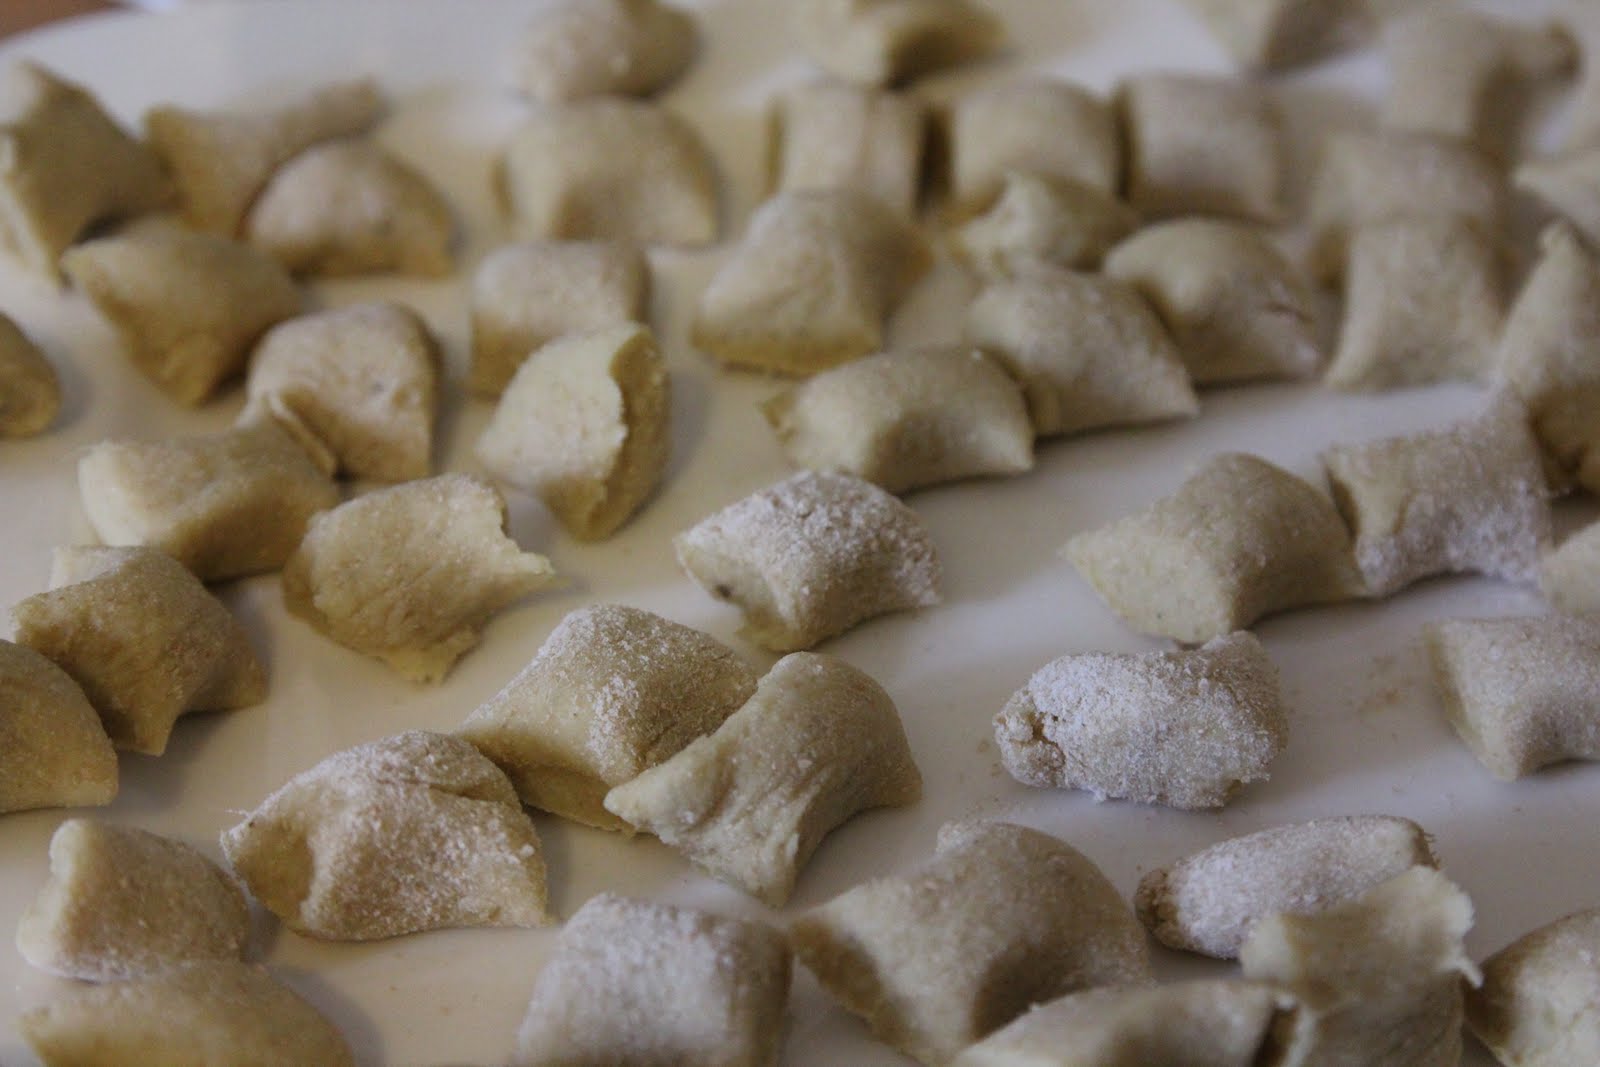
4. Next, take a chunk of the dough (a big handful's worth) and place it on a floured surface, then roll it into a long snake about the thickness of your thumb. Cut 3/4-inch pieces, or however thick you want your gnocchi to be.

5. Boil water (you can reheat the water you cooked the potatoes in) and drop the gnocchi in in batches. They'll float to the top when they're about done; let them cook for about a minute longer after they rise to the top, then take them out with a slotted spoon and put in the next batch.
Basil Walnut Pesto
Okay, this is the easiest part of the meal, and probably the best. Honestly I'm not usually a big pesto fan, but this stuff is un-be-lievable. I may have licked the spatula a few times.
Ingredients:
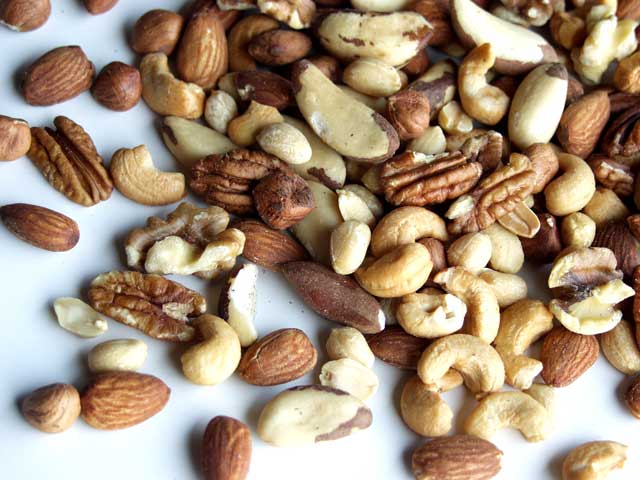
1/2 cup walnuts
2 cups basil
1/3 cup olive oil
2 cloves garlic
1/2 cup grated parmesan
1/2 tablespoon butter (optional)
salt
Place the walnuts, basil, olive oil, and garlic in a food processor or blender (Vitamix whaaat!) and blend until it's thoroughly combined, but not liquified - you want it to have some texture (see picture). Add the parmesan and butter (if you want to, Alan is just telling me now that he added it) and blend again. Add salt to taste. Add a little more olive oil if it's too thick.

And that's it. Mix with pasta, put it on a baguette, do whatever with it, just know it will steal the show. It's worth the carnage it inflicted on my poor basil plant.

Roasted Red Pepper Cream Sauce
This is a cream sauce, but it's not too rich or too bad for you. I used half & half instead of cream, and it was really thick. This sauce was really good with the nutmeg sweet potato gnocchi because it's not overpowering.
Ingredients:
3 red bell peppers
1/2 cup pine nuts, toasted
1/2 cup parmesan cheese
1/4 cup olive oil
2 cloves garlic
1 cup half & half
salt & pepper
1. put the red peppers over a burner if you have a gas stove, or under a broiler if not, and turn them so they're black on all sides. Place them in a paper bag and close it for about 15 minutes, then take them out and peel them. The black parts should all come off easily. Slice up the peppers into chunks.

2. heat the olive oil in a pan, then add the peppers, garlic, and pine nuts and saute them all together for a few minutes just to bring out the flavors.

3. pour everything in a blender or food processor and blend it until everything is completely mixed (unless you like some pepper chunks in your sauce).
4. Return it to the saute pan, and add the half & half and parmesan, and simmer until everything is uniform. Add salt & pepper to taste.


 Per serving: calories, 314; total fat, 4 g; saturated fat, 1 g; cholesterol, 1 mg; fiber, 18 g